


Download Monsgeek M1 V5 ISO Manual.
Download Monsgeek M1 V5 US-ANSI Manual.
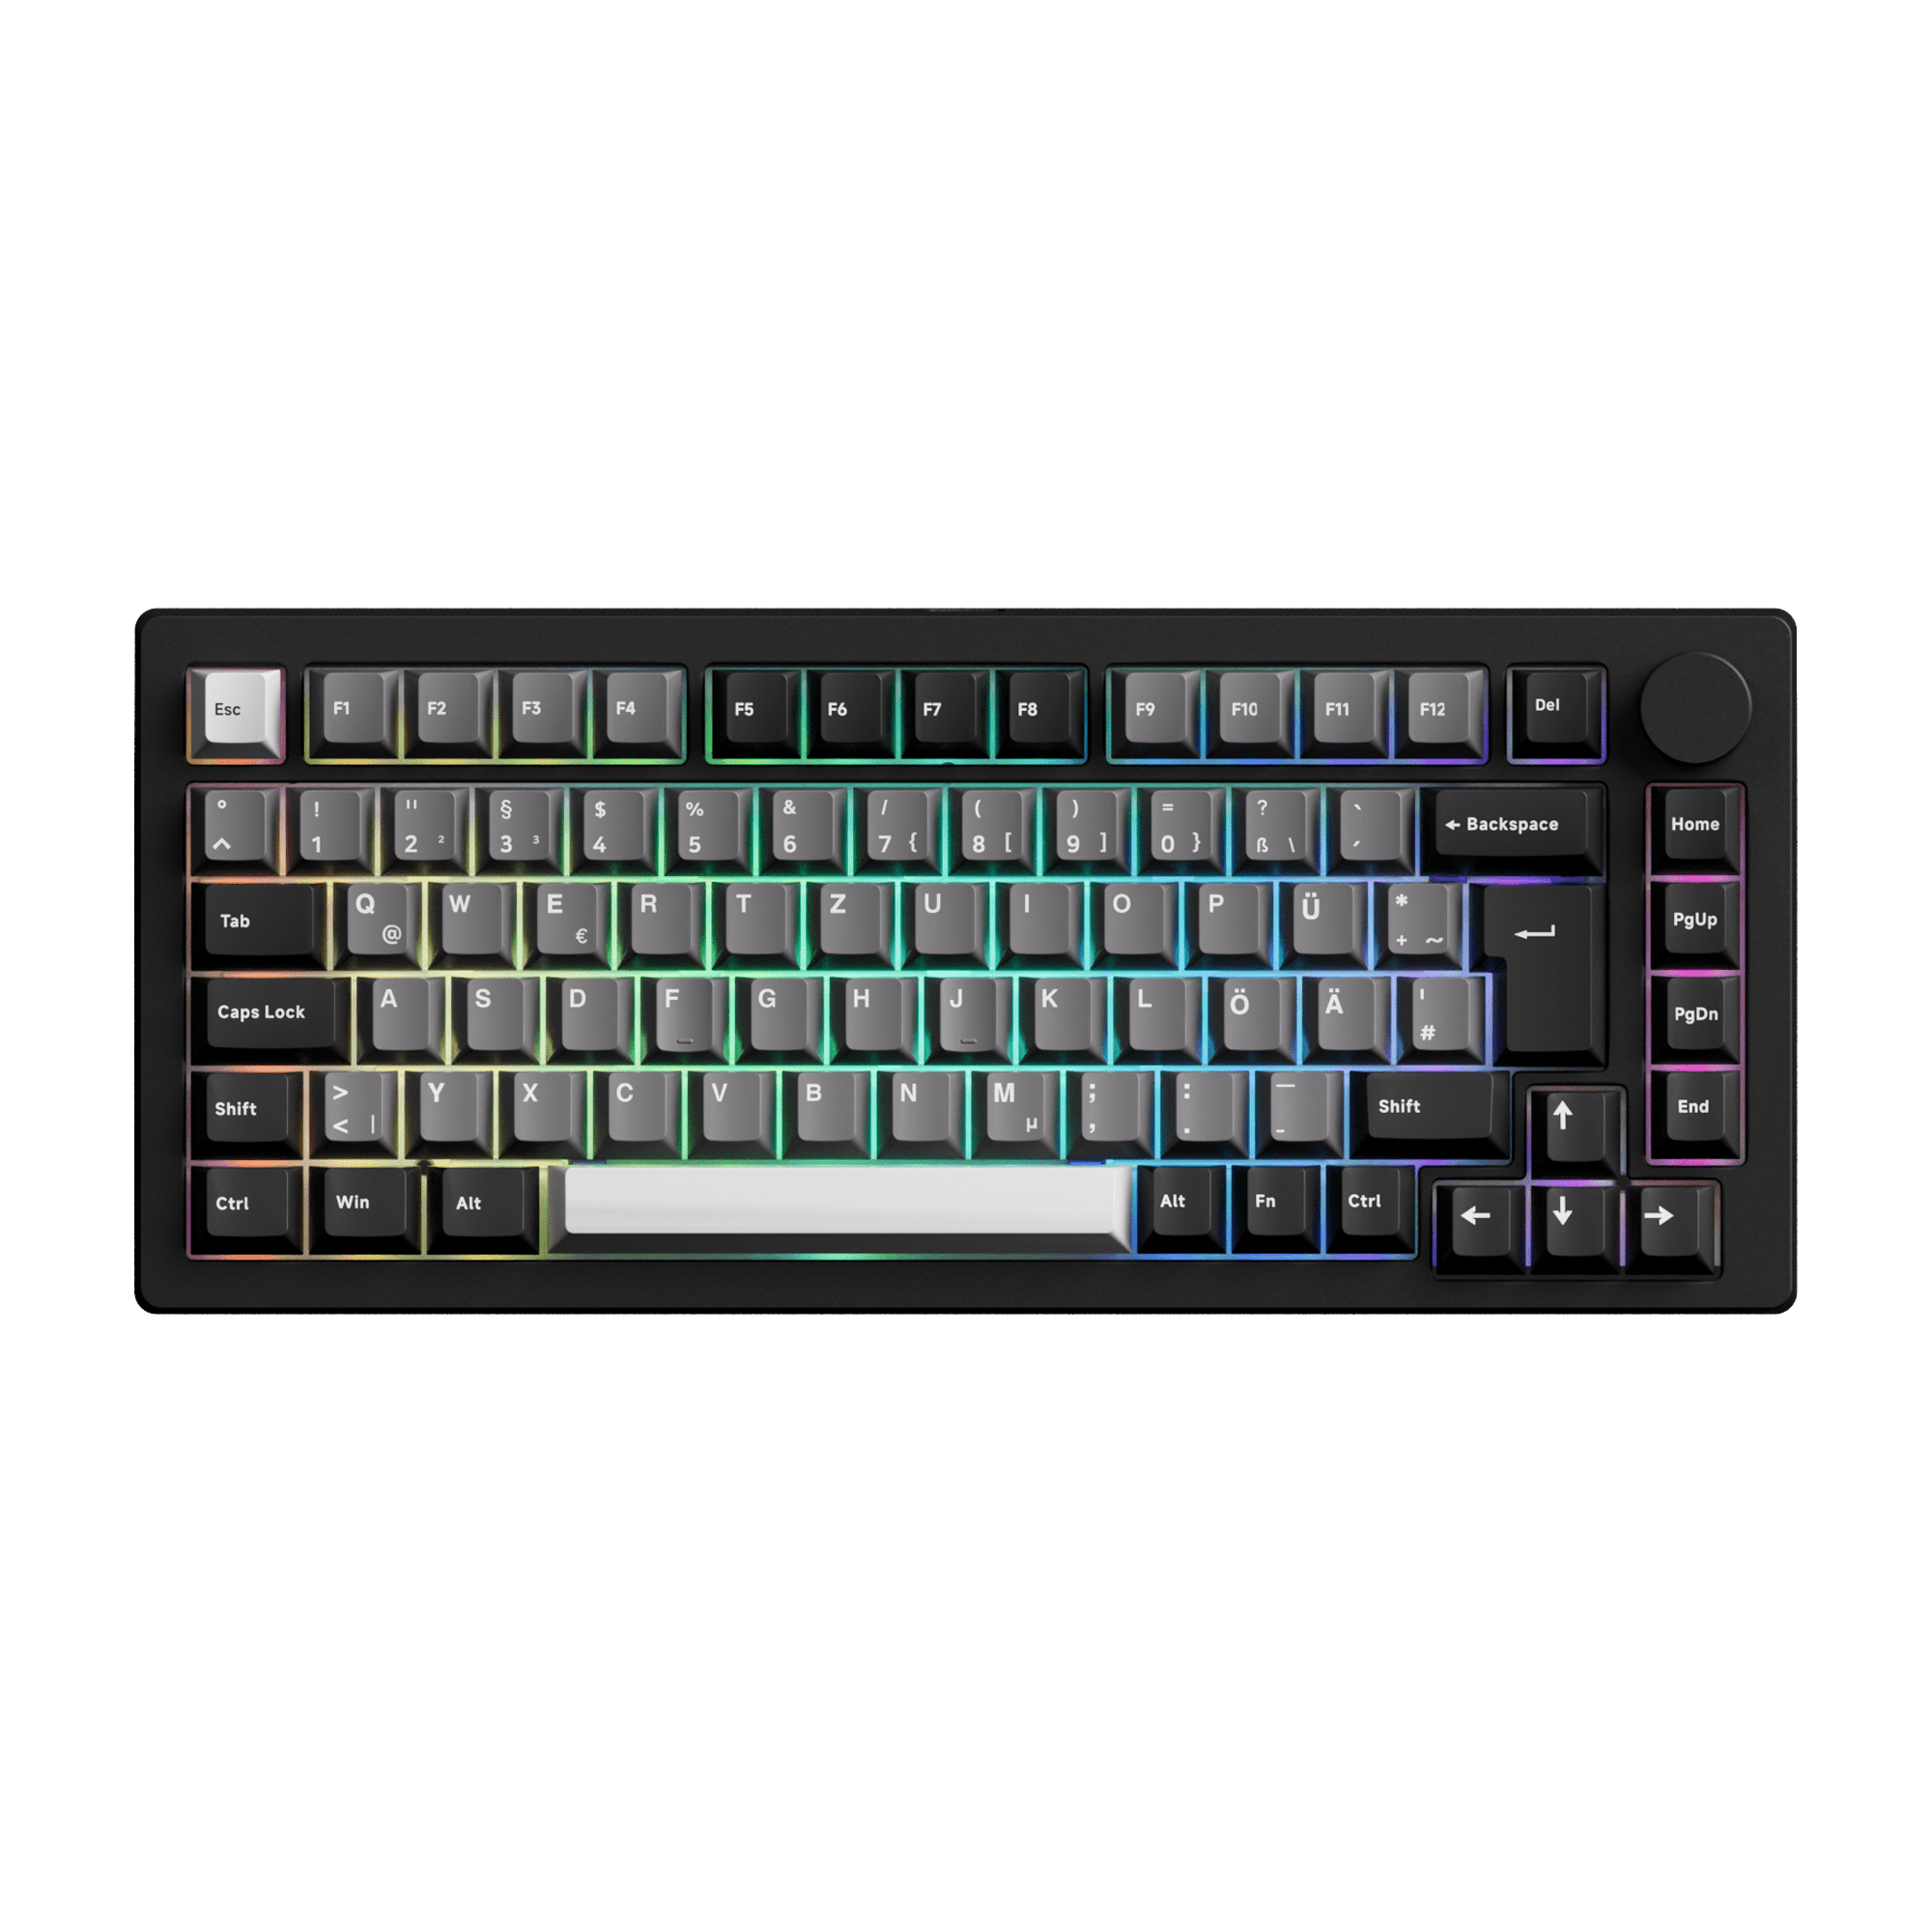
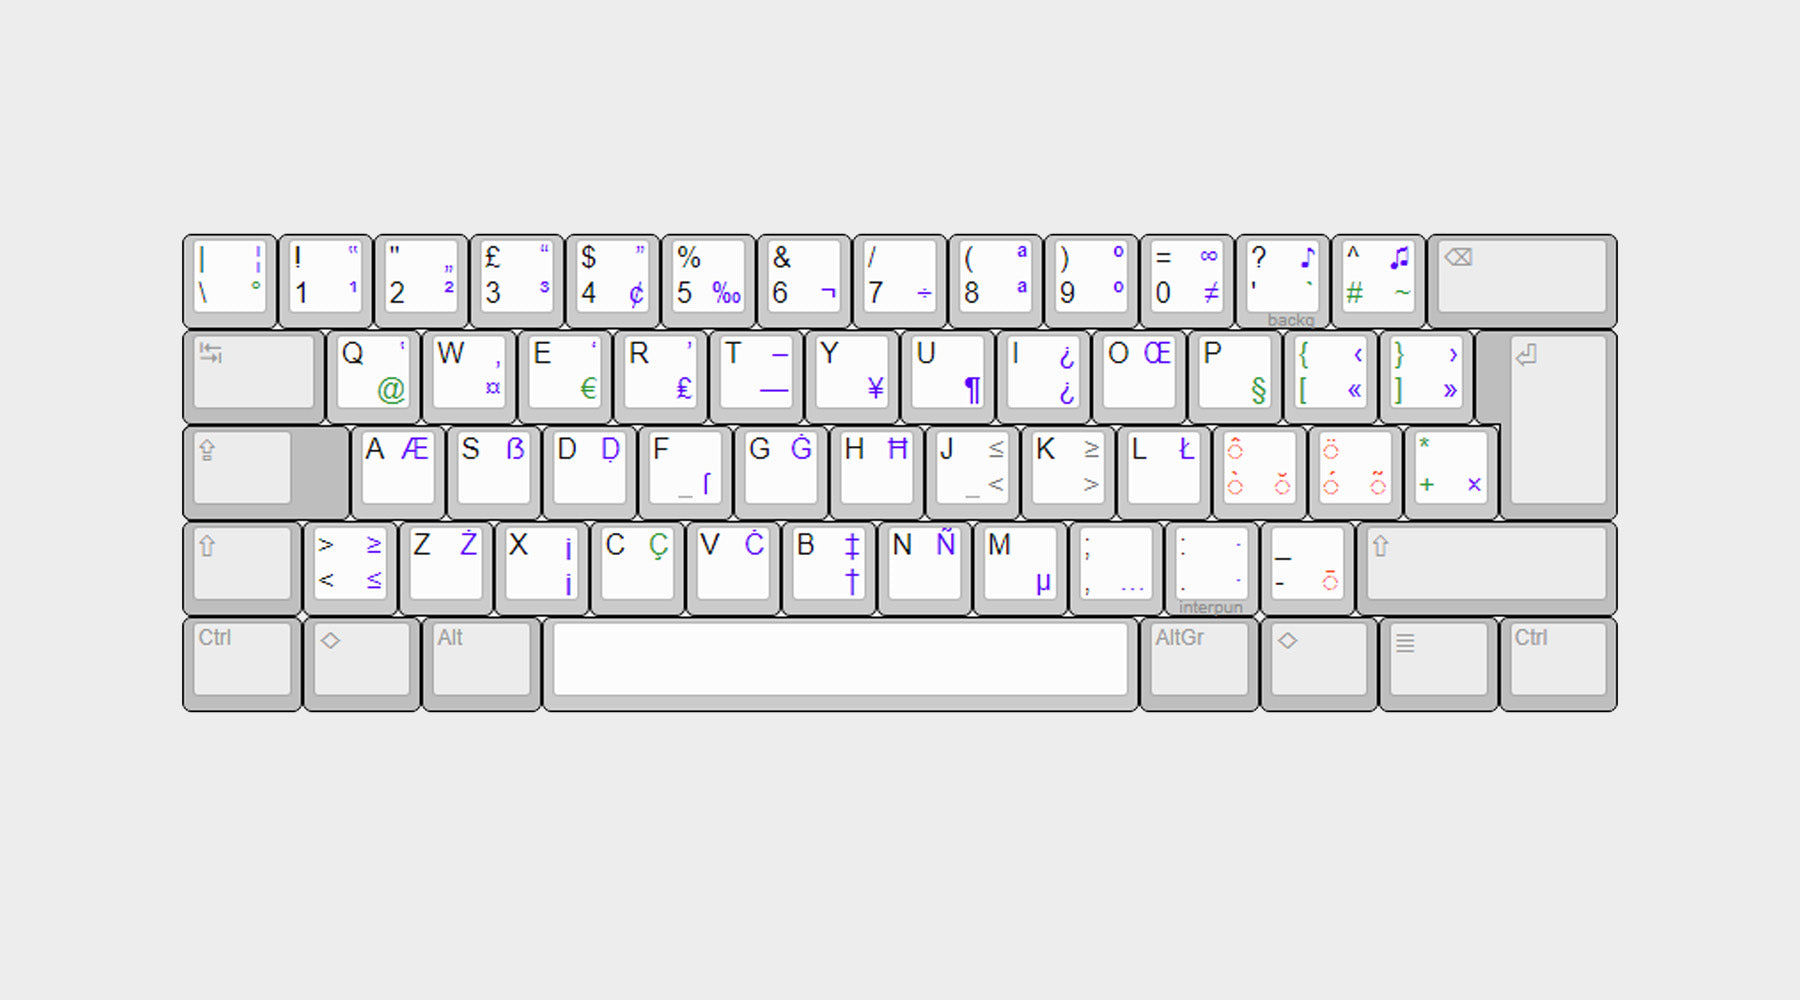
Note: This manual is for the ISO version.
Table of Contents
System Requirement
Connectivity Method
Connect the keyboard to your computer by plugging in the USB cable into an available USB-A port to start using it.
M1V5 ISO LED Indicators
| Status | Indicator | Re-Connecting | Pairing | Connected |
| Bluetooth device 1 | LED for Key E | Blue light blinks slowly | Blue light blinks fast | Blue light stays on for 2 seconds and then turns off |
| Bluetooth device 2 | LED for Key R | Blue light blinks slowly | Blue light blinks fast | Blue light stays on for 2 seconds and then turns off |
| Bluetooth device 3 | LED for Key T | Blue light blinks slowly | Blue light blinks fast | Blue light stays on for 2 seconds and then turns off |
| 2.4G wireless device | LED for Key Y | Green light blinks slowly | Green light blinks fast | Green light stays on for 2 seconds and then turns off |
| Wired mode | LED for Key U | N/A | N/A | White light stays on for 2 seconds and then turns off |
| Status | Indicator | Indicating Mode |
| Low Battery | Independent LED Indicator (near spacebar) | Green light blinks slowly |
| Charging | Steady Green | |
| Fully Charged | LED OFF | |
| Caps | LED for Caps Key | Steady White |
| Lock WIN | LED for left Win Key | Steady White |
M1 V5 ISO HotKeys

M1V5 ISO System Commands (Windows)

M1 V5 ISO System Commands (Mac)

M1 V5 Backlight Settings

-
Fn +
-: Slower Animation -
Fn +
=: Faster Animation -
Fn +
↑: Bright -
Fn +
↓: Dim -
Fn +
←: Switch LED Backlight / Light off/on -
Fn +
→: Switch LED Backlight / Light off/on -
Fn +L: Light off/on -
Fn +DEL
M1 V5 Wireless/Wired Connection Guide

Bluetooth Pairing
After turning on the keyboard, press FN+E/R/T to enter Bluetooth mode. Press and hold the FN+E/R/T combination key for 3 seconds to put the keyboard in pairing mode, with the blue indicator light flashing quickly. Once the connection is established, the indicator light will stay on for 2 seconds. If the device fails to connect, the indicator light will turn off and the keyboard will enter sleep mode.
2.4G Pairing
After turning on the keyboard, press FN+Y to enter 2.4G mode. Then press and hold the FN+Y combination key for 3 seconds to enter pairing mode. Then insert the receiver, and the green indicator light will flash quickly. Once the pairing is successful, the LED indicator will stay on for 2 seconds. If no available device is found within 30 seconds, the LED indicator will turn off and the keyboard will enter sleep mode.
Battery Level Check
In wireless mode, please press the FN+Spacebar combination keys to check the battery level. If the battery level is less than 30%, the 1-2 keys will light up red. If the battery level is less than 100%, the 1-9 keys will light up green, and if the battery level is full, the 1-0 keys will light up green.

Key/Lighting Effects Customization Instruction
1. VIA is a widely recognized software that offers an intuitive interface for configuring and personalizing various keyboard settings. Users can utilize VIA to remap keys and adjust lighting on keyboards with VIA.
It enables you to remap keys, create custom macros, customize lighting effects, and more. If you encounter connection issues, please load the corresponding V5 JSON file specific to your keyboard model.
- Web Version: https://usevia.app/
- APP: https://github.com/the-via/releases/releases
You can download JSON files from our dedicated Download page.
2. You can download keyboard source code (in compliance with GPL license) via:
https://monsgeek.hsgaming.cn/
MONSGEEK Warranty and Service Statement
1. MONSGEEK provides One-Year warranty for customers in mainland China. For other regions, please contact your seller (MonsGeek distributor) for specific warranty policy.
2. If the warranty window expires, customers need to pay for repairs. MONSGEEK will also provide instructions if users prefer to repair the keyboard by themselves.
However, users shall take full responsibility for any loss happened during self-repair.
3. Defects resulting from disassembly of our product, improper usage and incorrect installation are not covered by warranty.
4. The return and warranty policy may vary in different platforms and are subject to the specific distributor at the time of purchase.


Leave a comment
This site is protected by hCaptcha and the hCaptcha Privacy Policy and Terms of Service apply.