


What is VIA On A Keyboard?
Keyboard VIA is an open-source keyboard configuration tool.
- Easy to use: No need to flash firmware, you can directly remap keys, set lighting, macros and other settings after connecting the keyboard.
- Open source and free: Both the software and the protocol are open source and highly compatible.
- Cross-platform: Supports Windows, macOS and Linux.
How to Check if Your Keyboard Supports VIA?
Not all keyboards are compatible with VIA. If you're using a Monsgeek keyboard, here’s a quick way to check:
- Look for “VIA” or “QMK” in the keyboard name or product details.
- If neither is mentioned, the keyboard likely does not support VIA.
Note: Keyboards that support VIA are not compatible with the Monsgeek driver. Lighting customization and key remapping must be done through the VIA software.
Monsgeek VIA Keyboards
You can get Monsgeek QMK VIA keyboard from
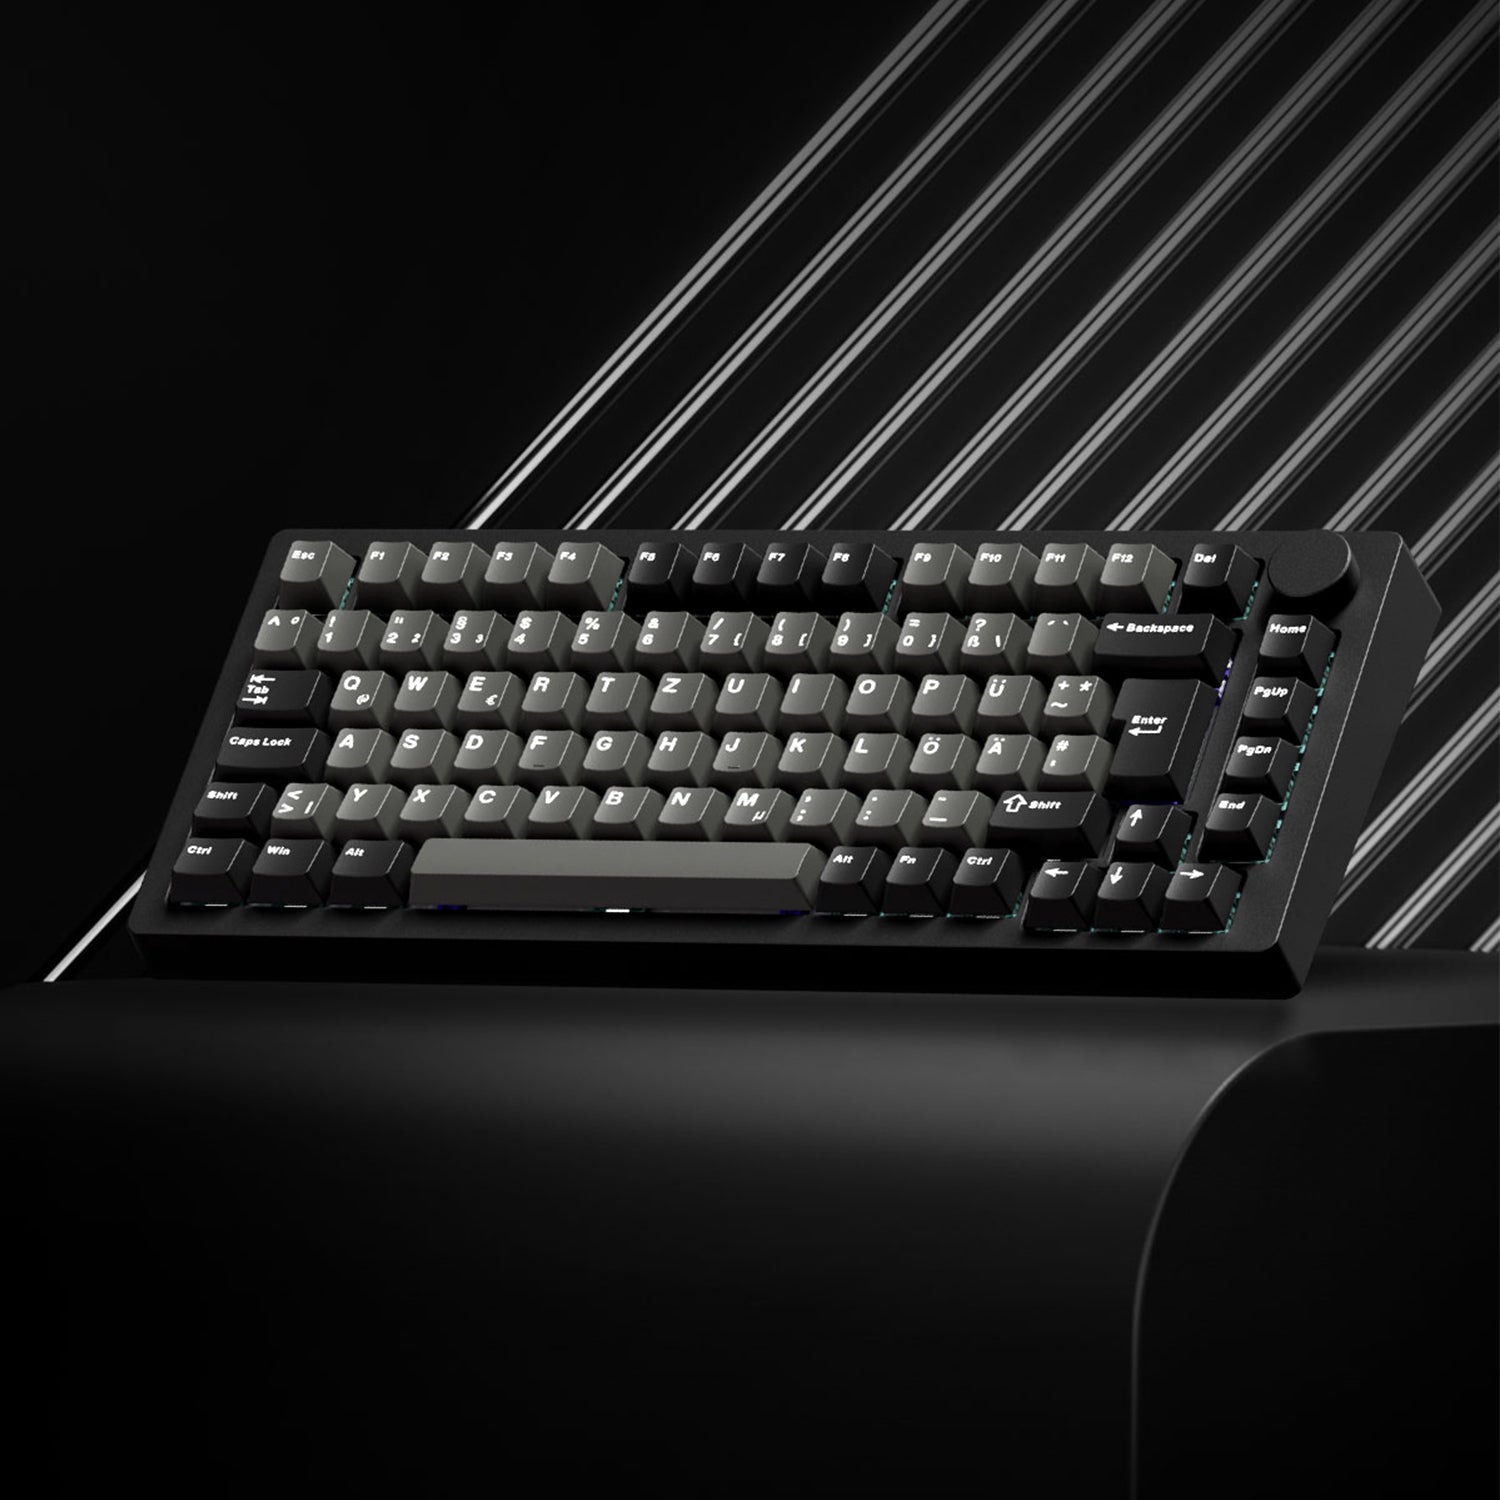
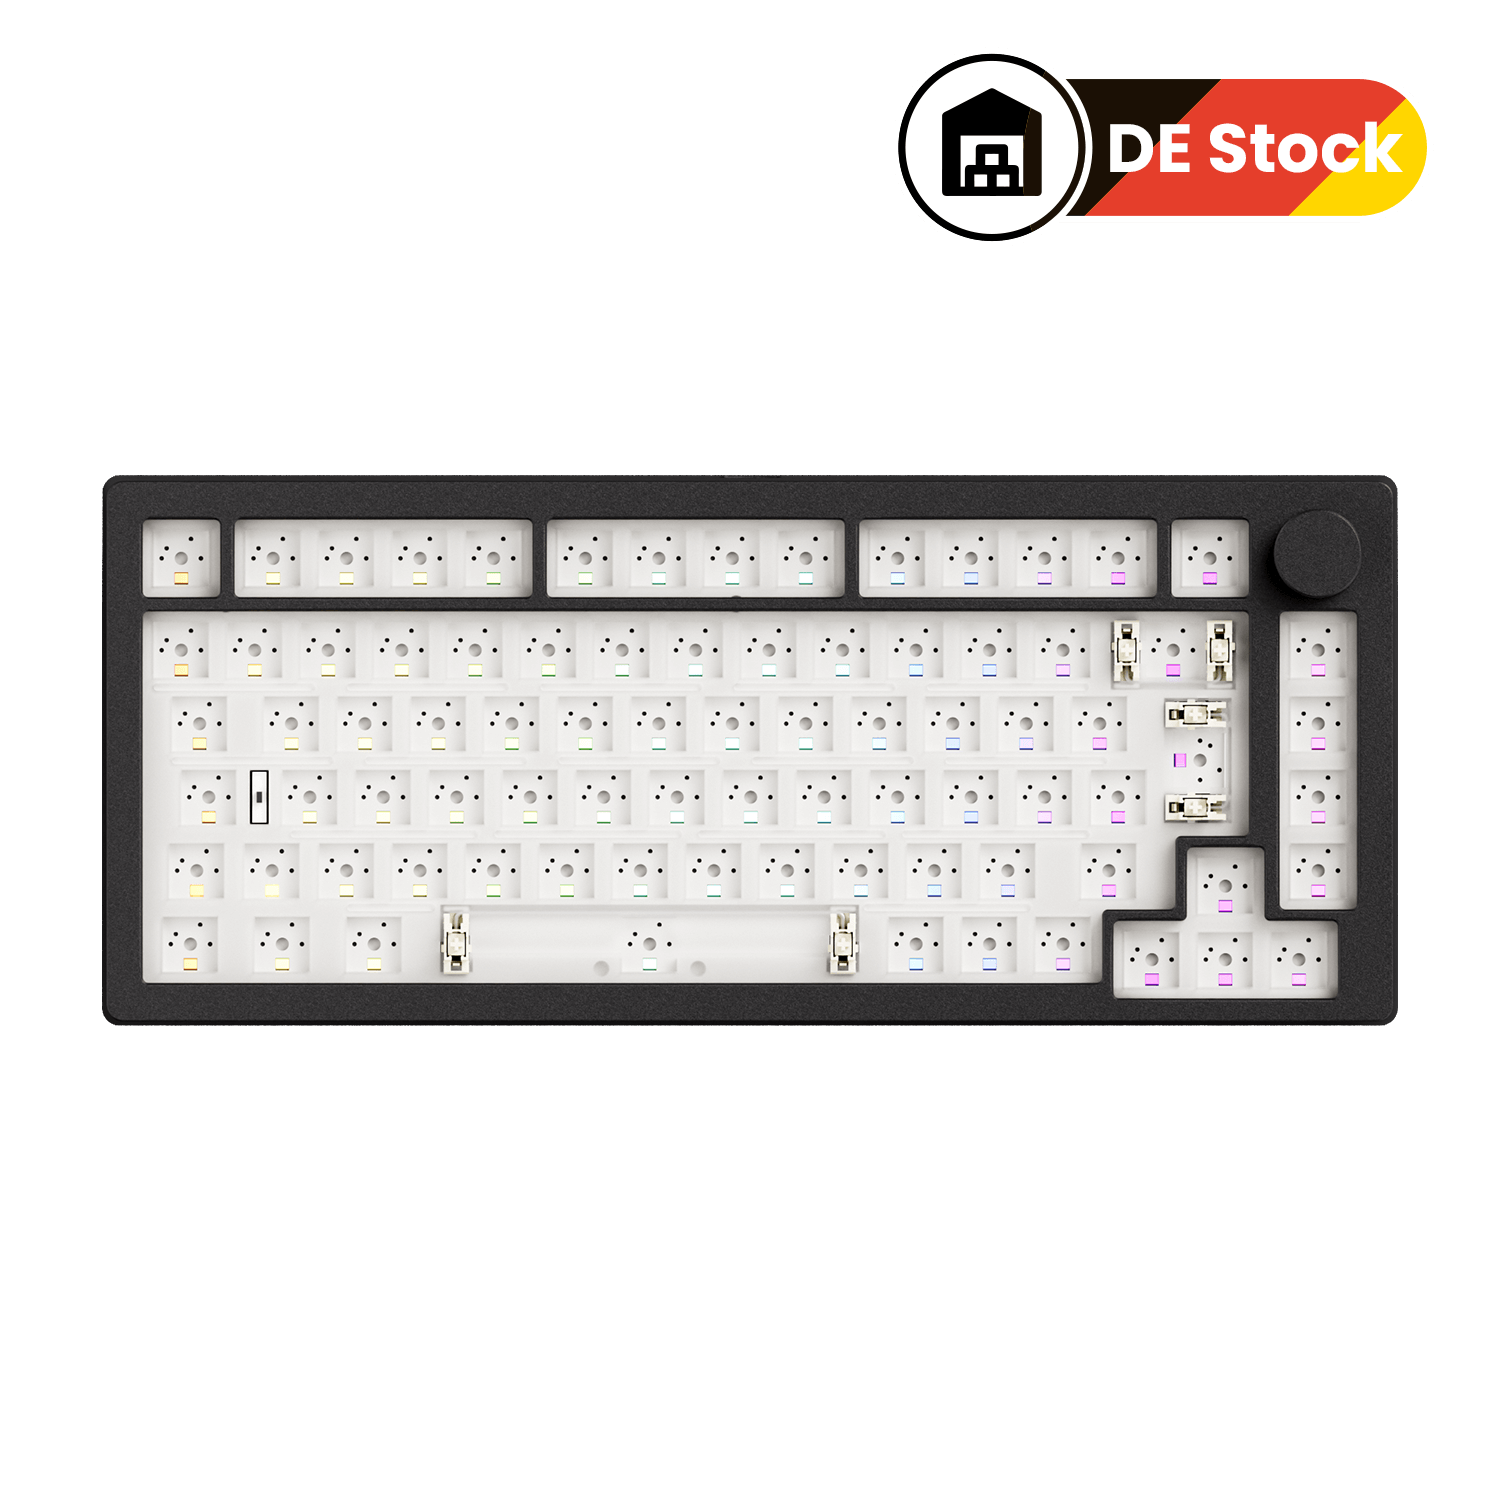
MonsGeek M2 V5 VIA
Layout: 1800 compact keyboard
Features:
- Rapid Disassemble
- Hot-swappable
- Full aluminum case
- VIA/QMK support out of the box
Best for: Users who want full-size functionality in a compact format, plus full remapping and macro control.

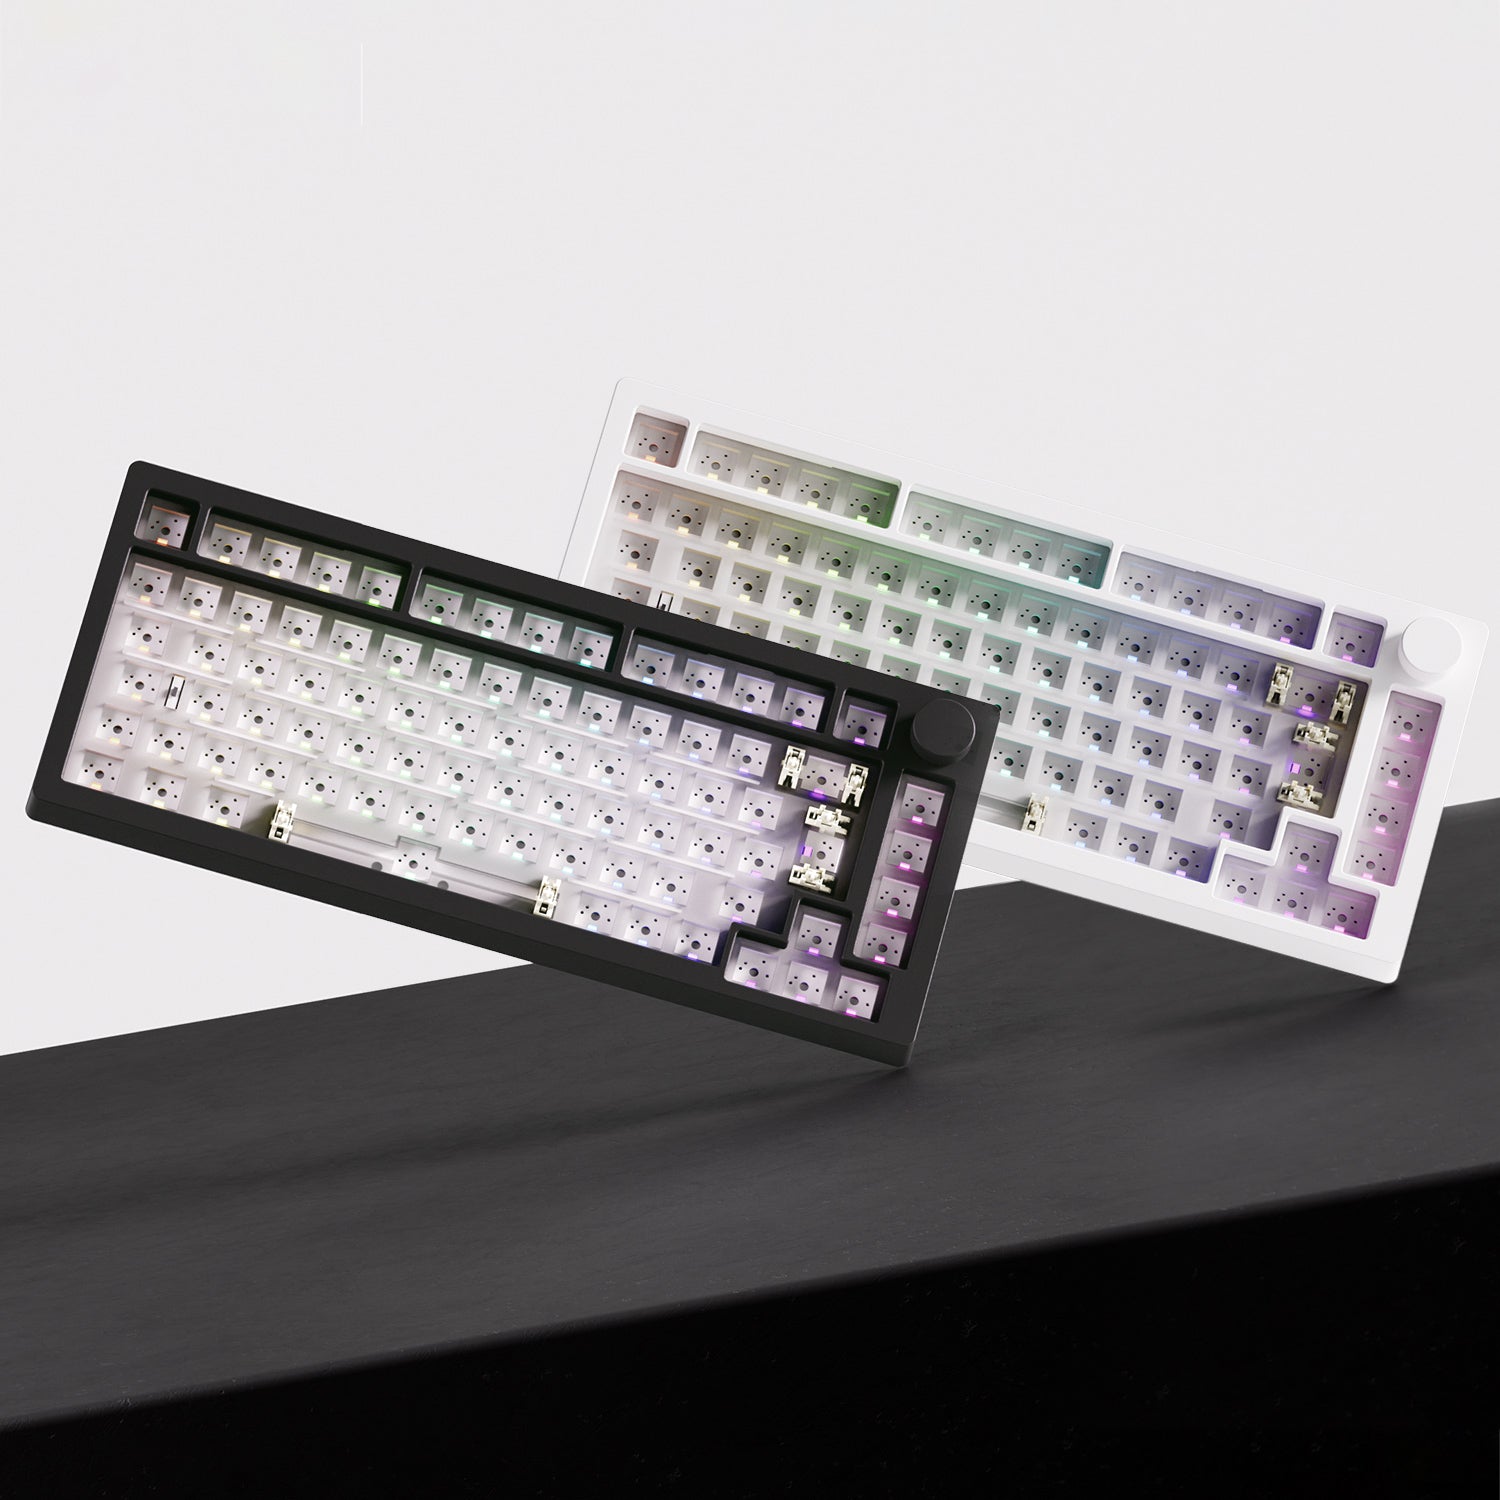
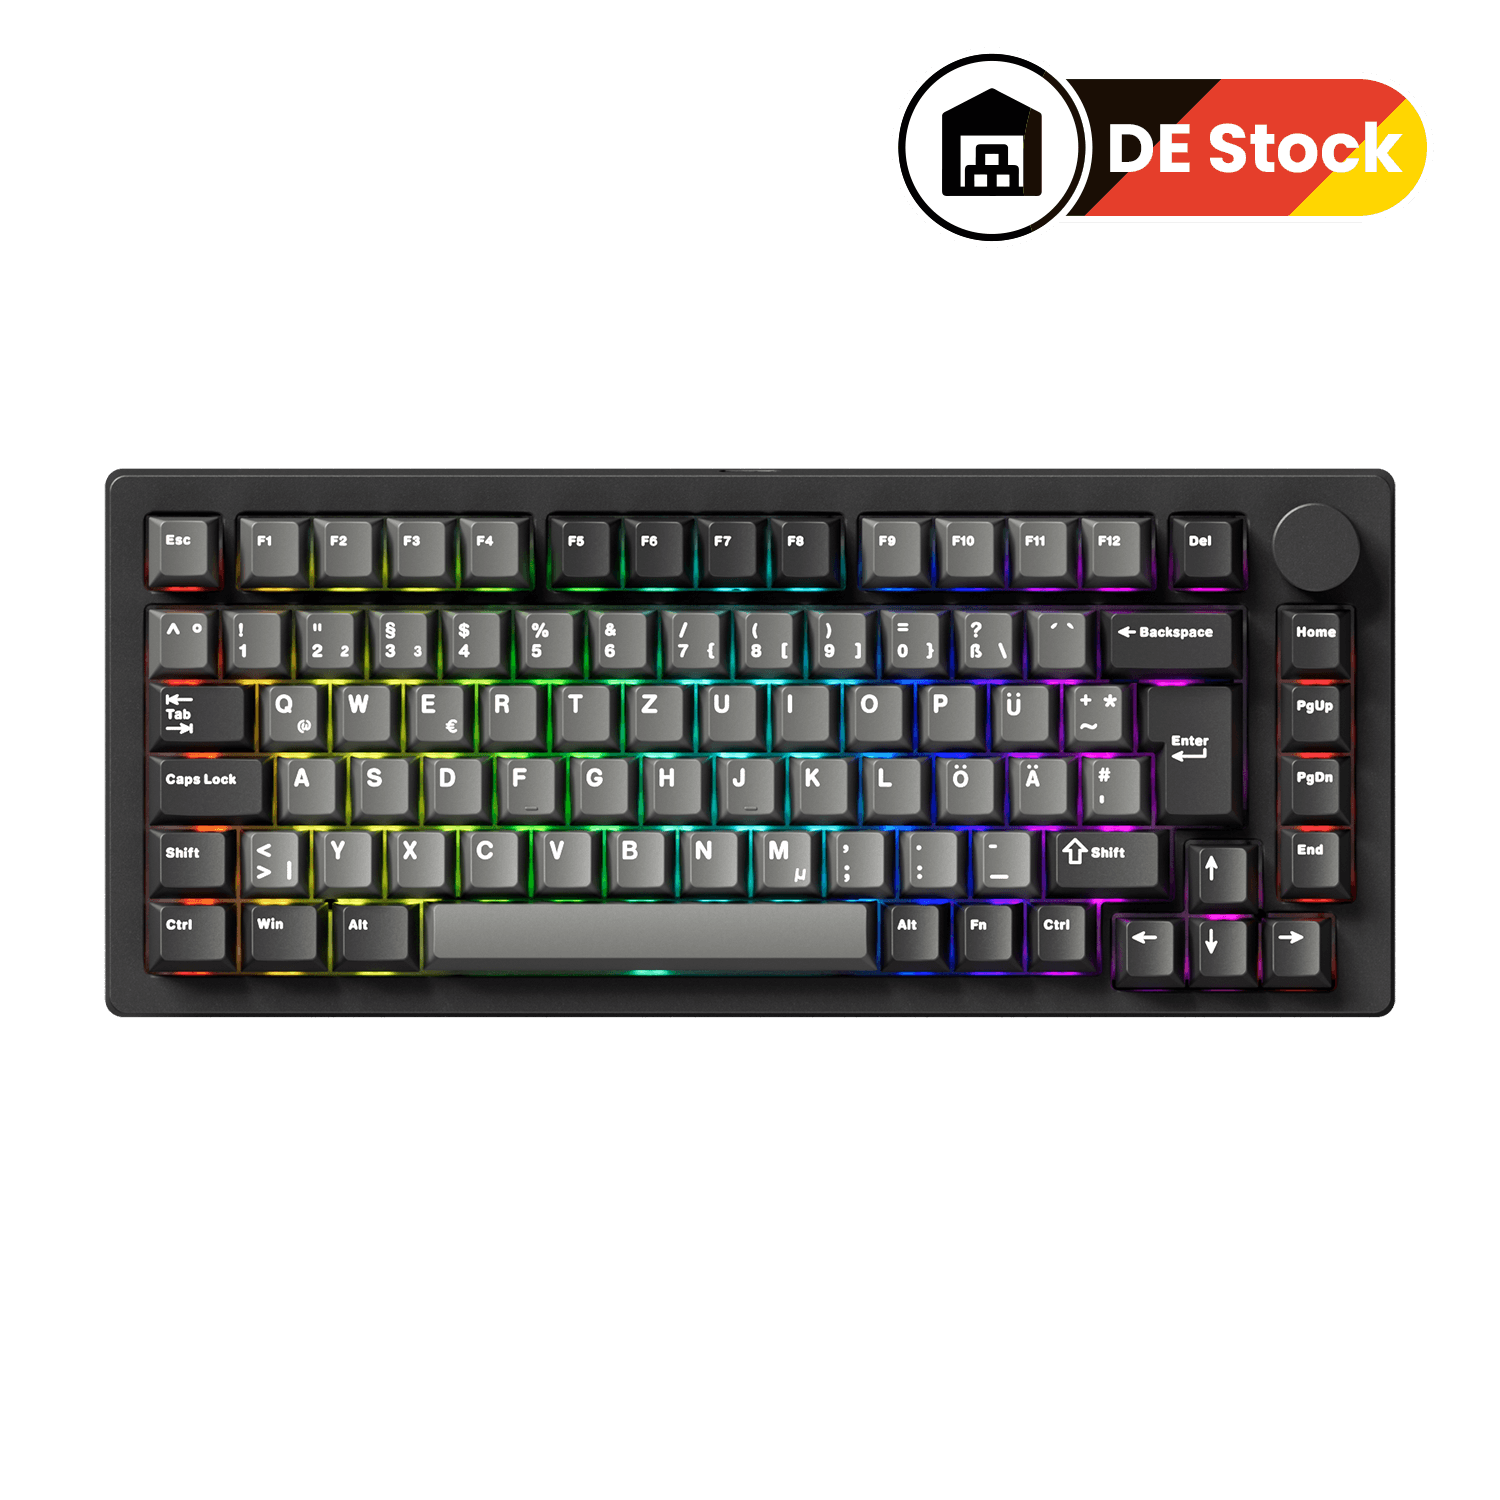
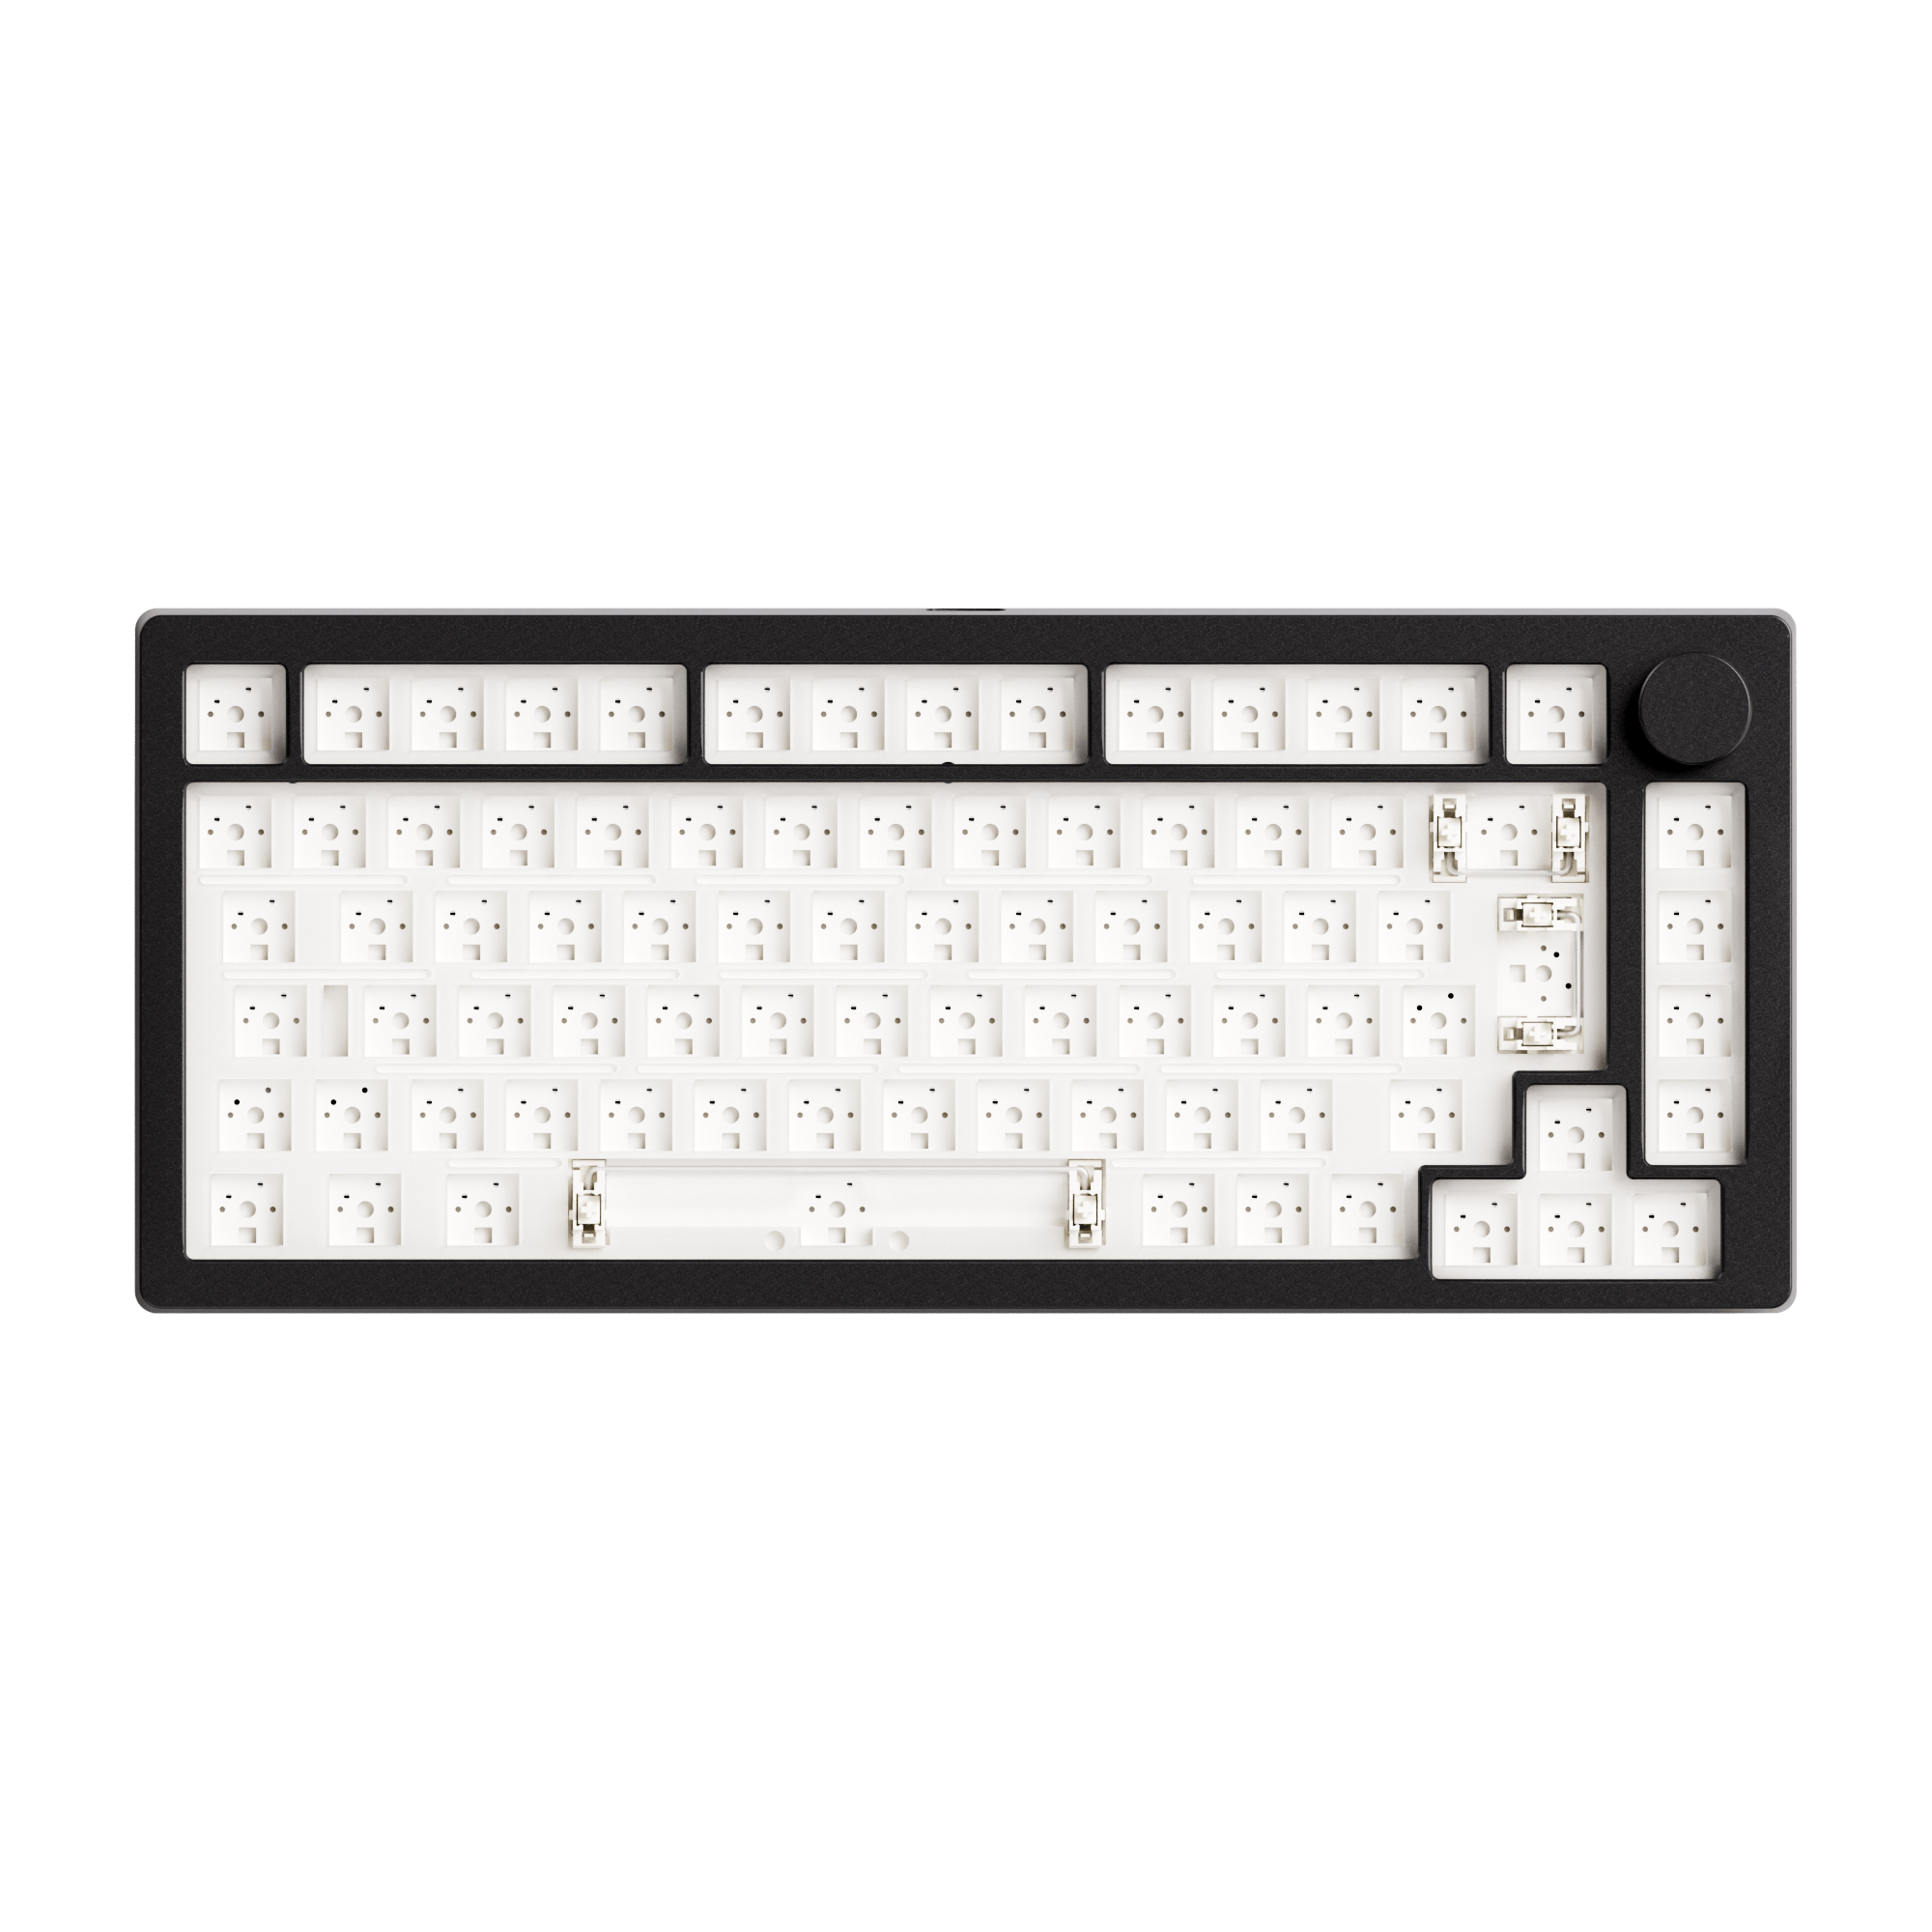
MonsGeek M1 V5
Layout: 75%
Features:
- Rapid Disassemble
- VIA-compatible
- Hot-swappable
- CNC aluminum case
- South-facing LEDs
Best for: Custom mechanical keyboard beginners and customization enthusiast.

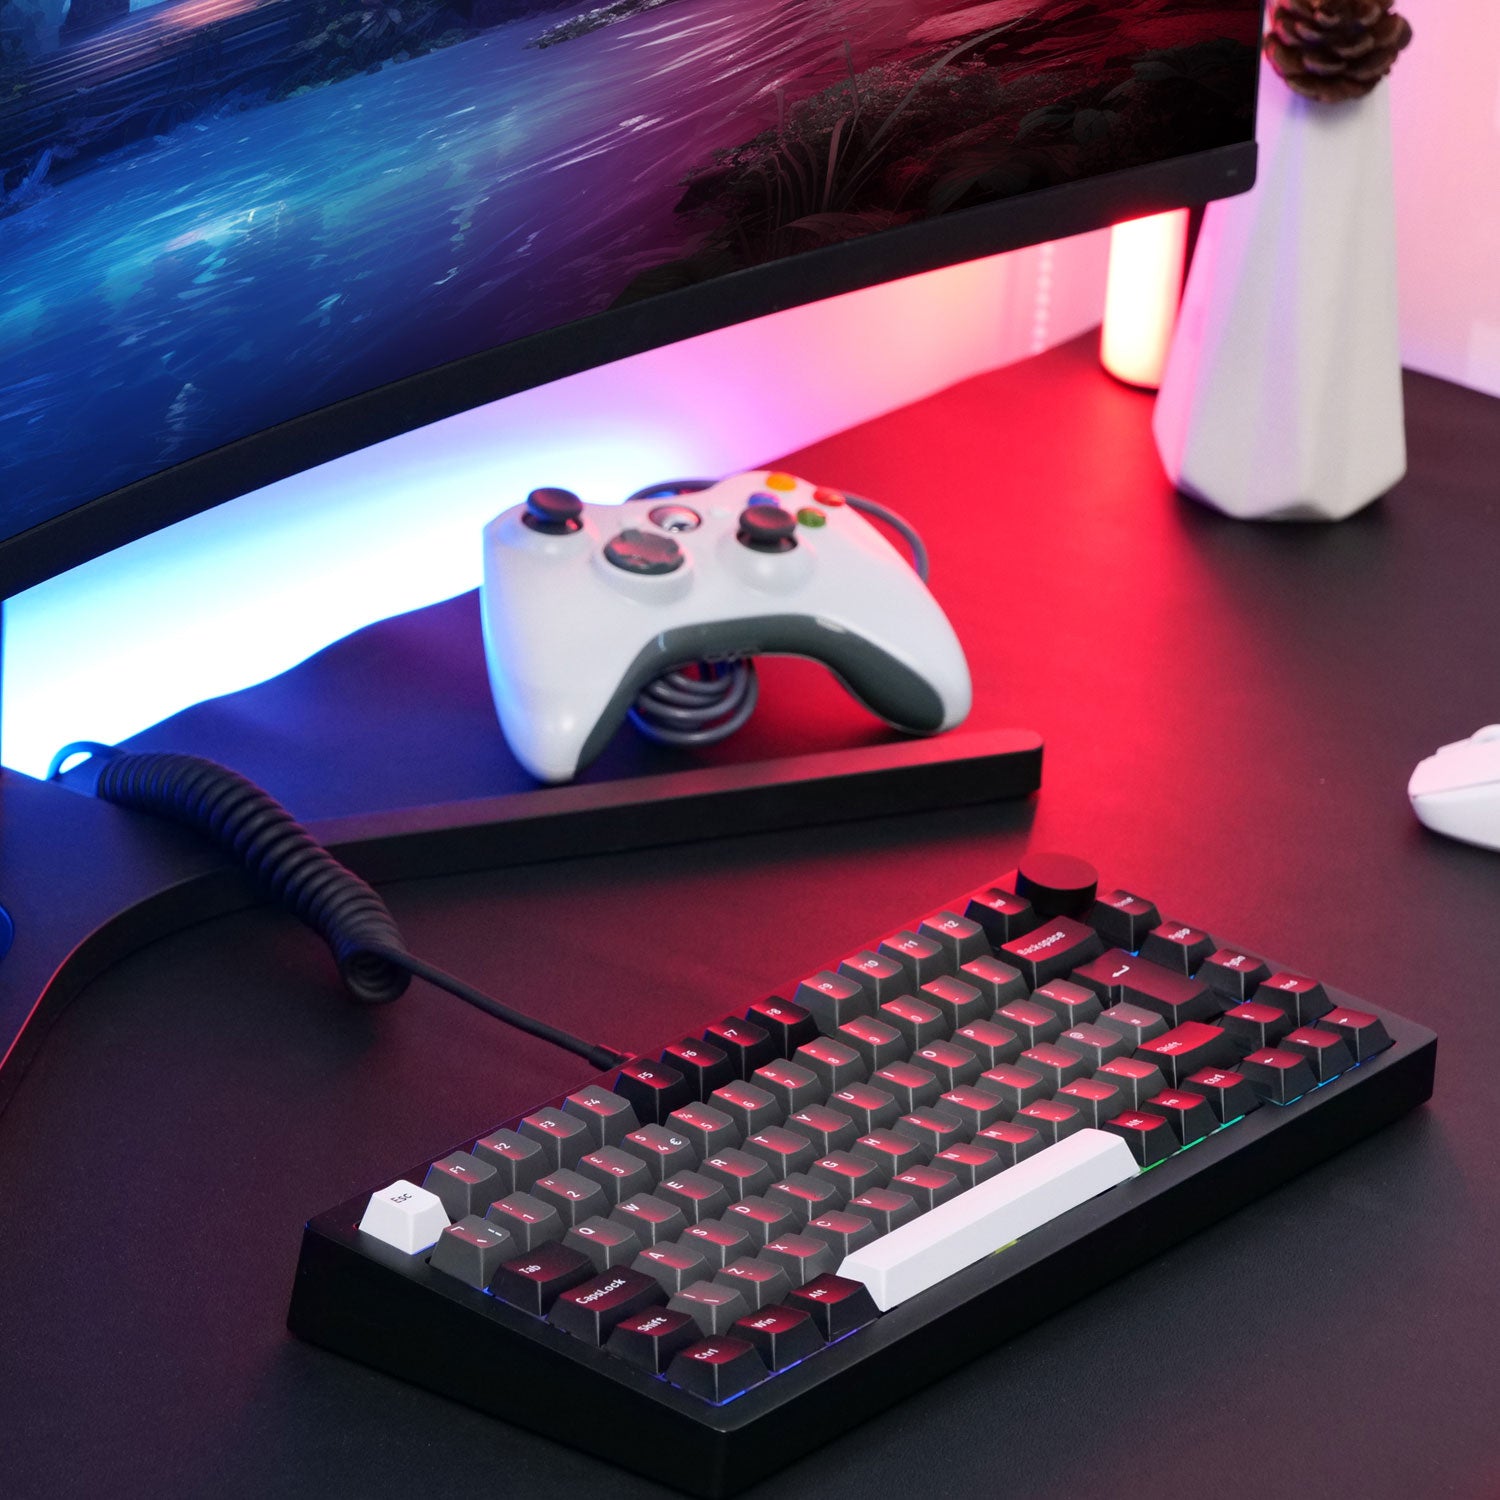
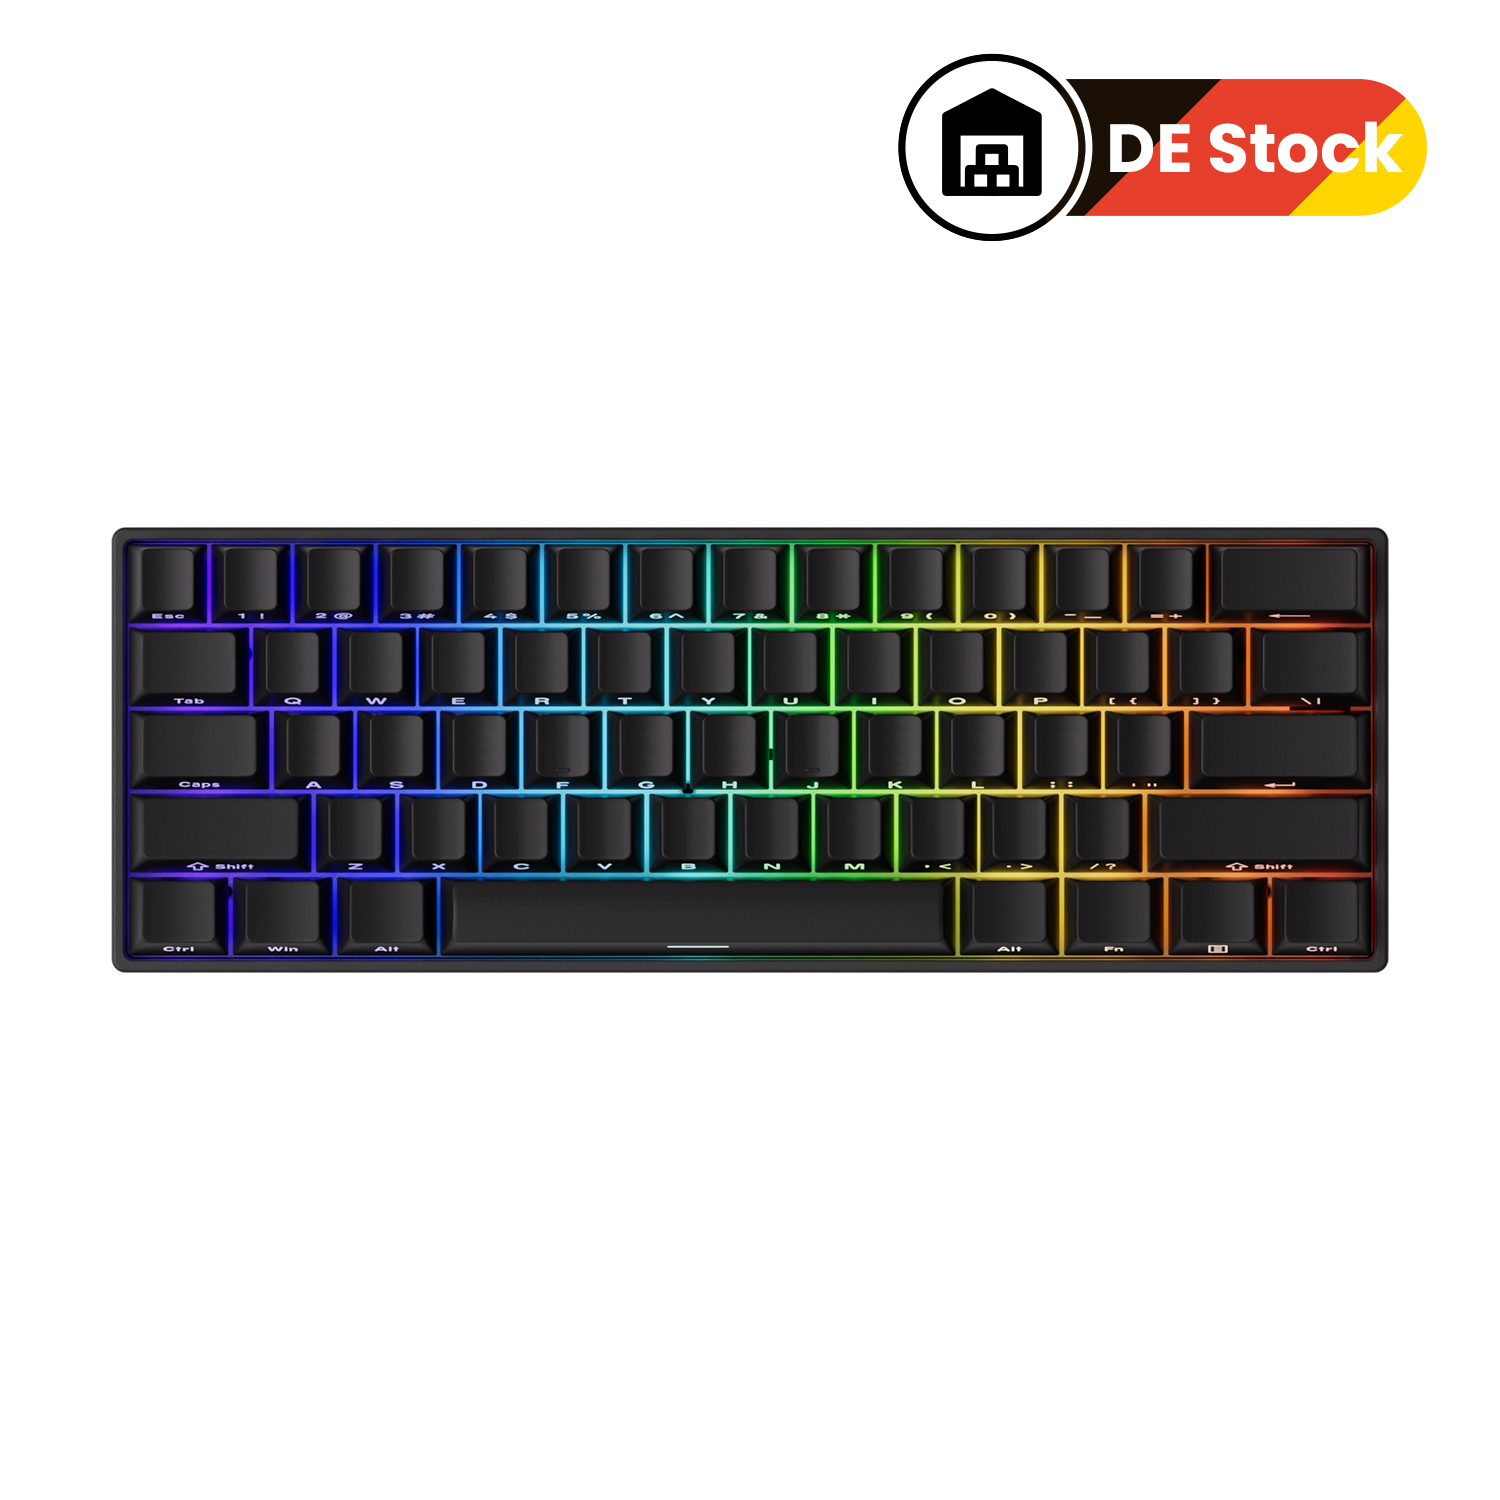
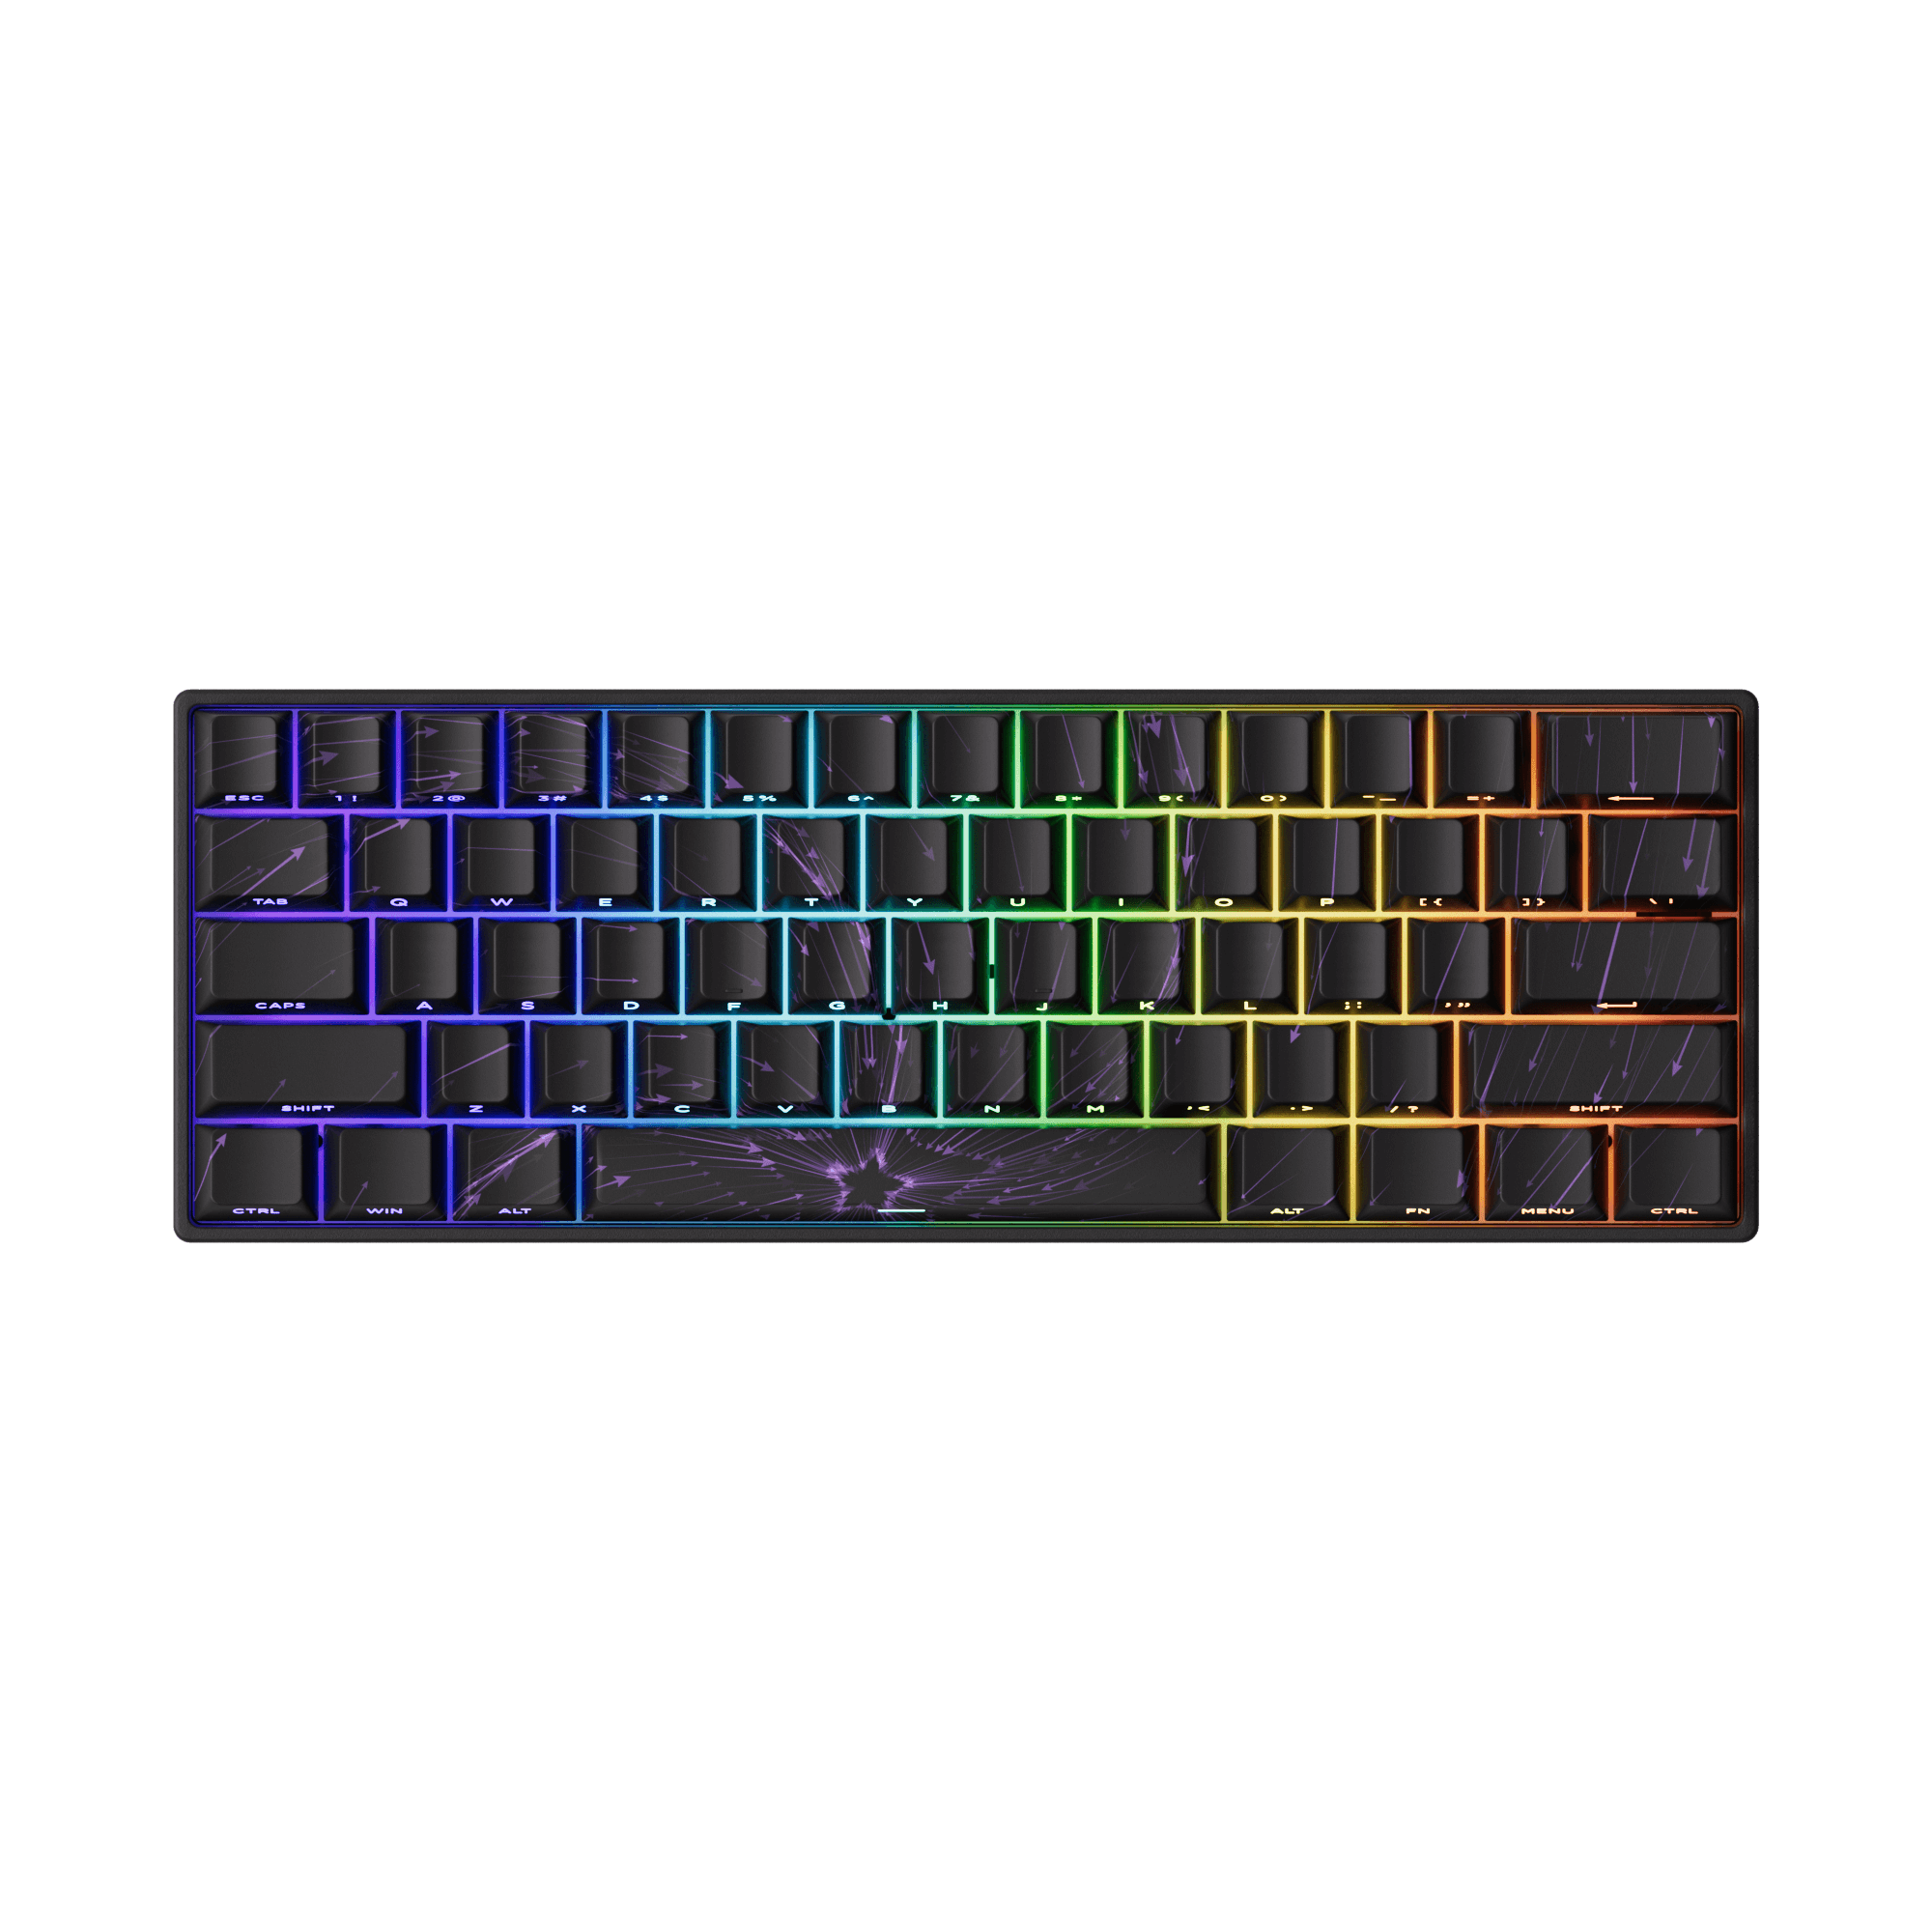
MonsGeek M7 VIA DIY Kit
Layout: 65%
Features:
- Compact, no-numpad design
- VIA-compatible
- DIY barebones kit (choose your own switches/keycaps)
- Lightweight but sturdy build
Best for: Enthusiasts who prefer a minimalist, travel-friendly board and want to build their own setup.

How to Get on VIA?
You can get the VIA from the web app and the desktop app:
- Web APP (Recommended): https://usevia.app/- This is the official online VIA configurator—no download required.
- Desktop APP: https://github.com/the-via/releases/releases- Functions as a wrapper for the web app, still requires an internet connection, lightly more reliable in detecting connected keyboards, available for Windows, macOS, and Linux.
How to Connect Your Keyboard to VIA?
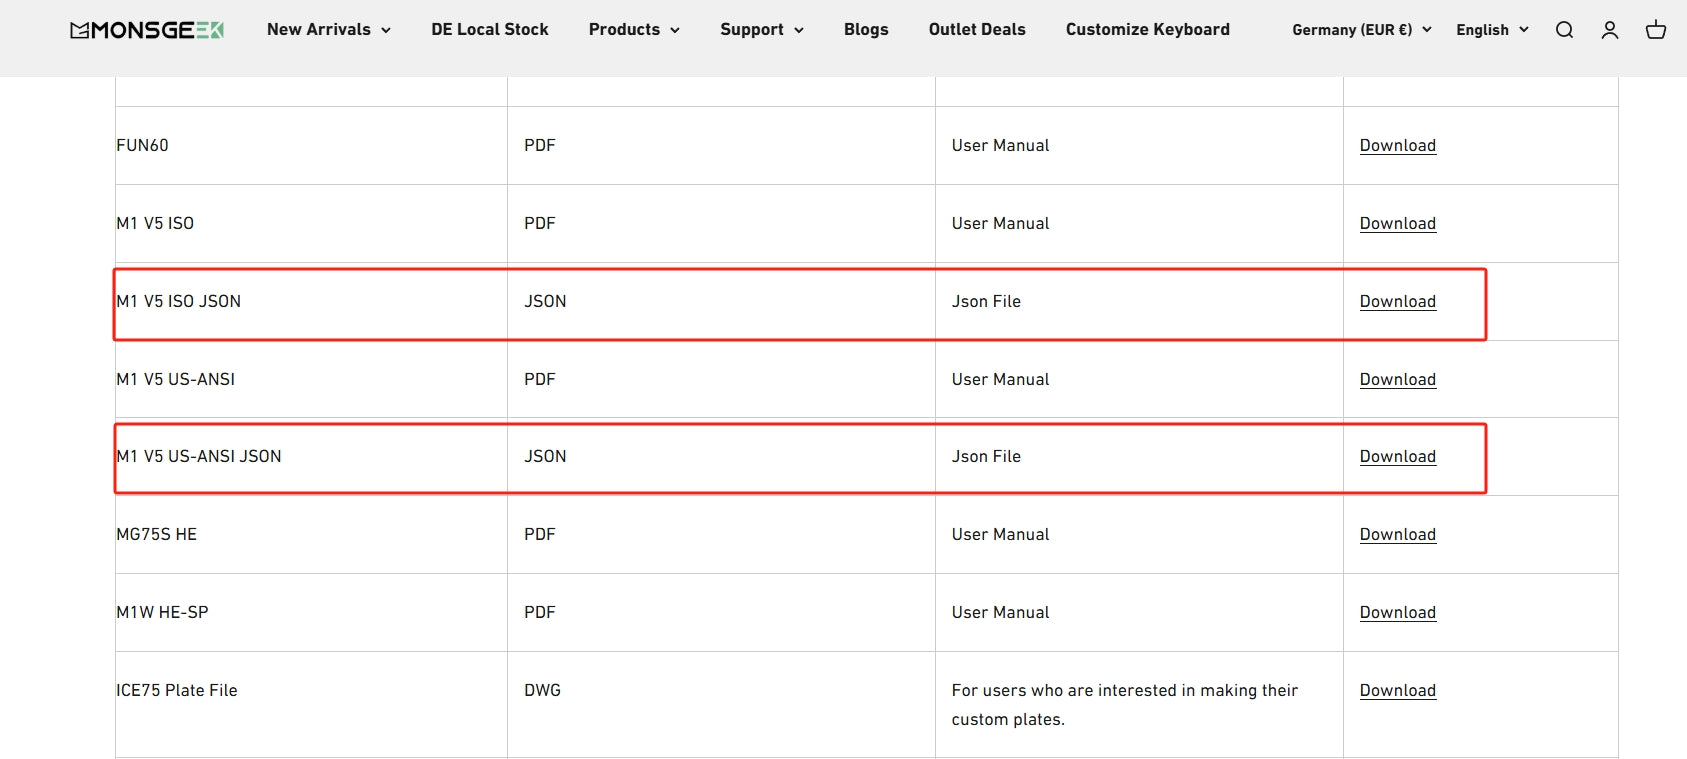
Step 1: Download the Keymap JSON File
Some keymaps may not be auto-detected immediately, as GitHub takes time to approve VIA submissions.
You can visit the Download Center to access JSON files for Monsgeek VIA-compatible keyboards. For example, you are using M1 V5 VIAkeyboard. Just find the correct JSON file for your layout (ISO or ANSI), Right-click → “Save As” to download.
Step 2: If the keyboard is not detected, enable the "Design" Tab in VIA
- Click Settings.
- Toggle on “Show Design tab”.
If you already see a “DESIGN” tab at the top, you can skip this step.
Step 3: Import the JSON File
- Click the DESIGN tab.
- Click “Load” and select the JSON file for your keyboard.
This allows VIA to recognize your keyboard layout.

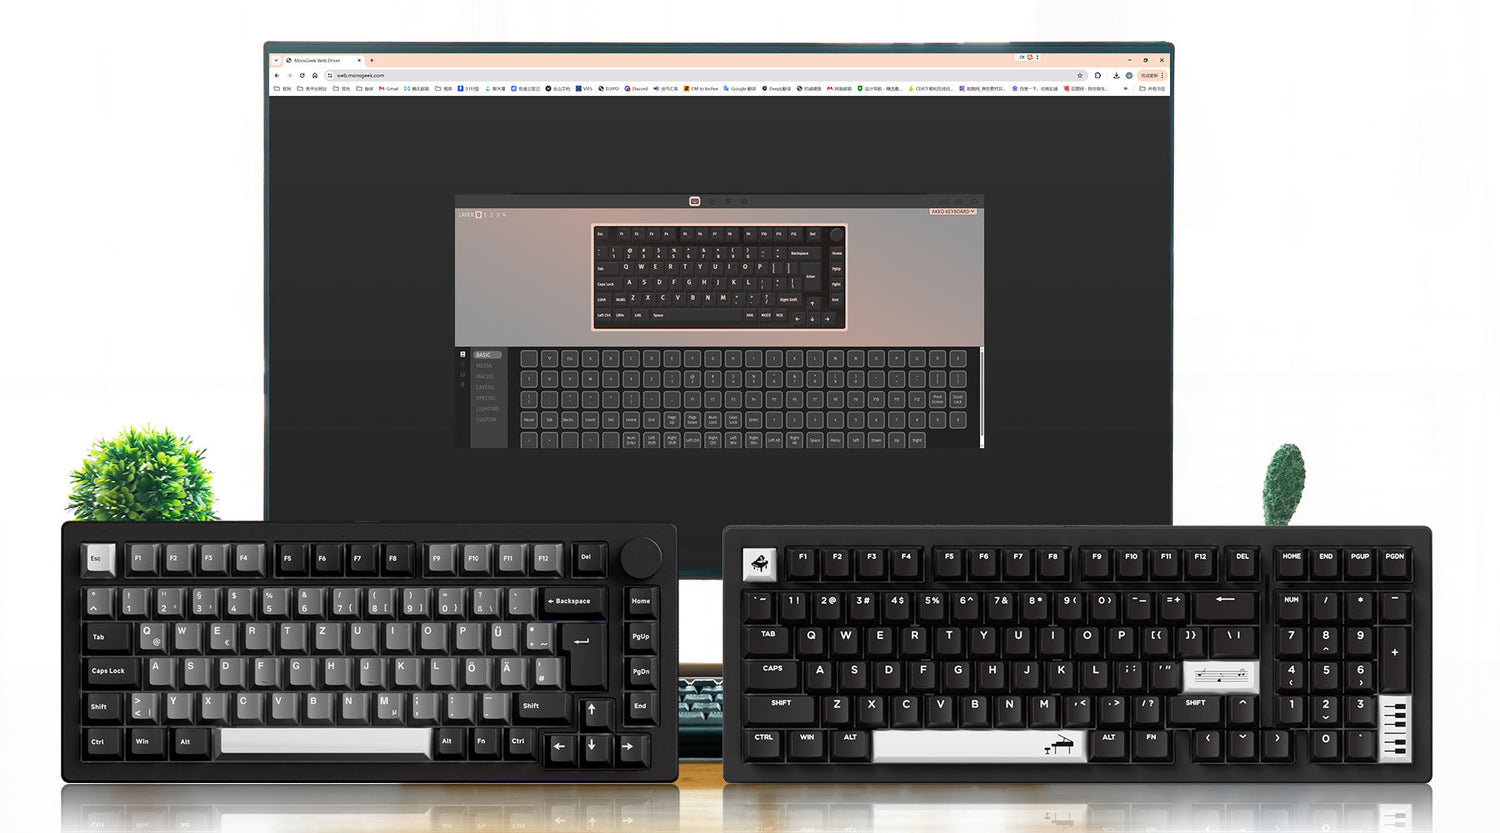
Step 4: Start Configuring
Click CONFIGURE. Once your keyboard is recognized, VIA will display:
- Top half: Your current key layout.
- Bottom half: Customization options, such as remapping, layers, and macros.
You can switch between layers and assign different functions to each key.

How to Remap a Key in VIA?
1. Open the Configure tab in VIA and click on “KEYMAP.”
2. You’ll see several categories:
- Basic: Standard keys like letters, numbers, Enter, Shift, etc.
- Media: Controls for volume, play/pause, mute, next/previous track.
- Macro: Assign complex keystroke sequences or actions to a single key.
- Layers: Give keys different functions across layers (e.g., use Fn to switch layers).
- Special: Unique functions like Reset (for firmware flashing) or app interactions.
- Lighting: Customize RGB settings—brightness, effects, and modes.
- Custom: Define your own key functions or commands beyond the standard options.
3. Example: Change ESC to A
- Click on the ESC key in the key layout—it will begin flashing slowly.
- Then click “A” in the Basic section.
- VIA will immediately remap the ESC key to function as the A key.

How to Create a Macro in VIA?
The MACRO section in VIA lets you automate repetitive actions or trigger complex commands with a single key press—perfect for frequent typing, gaming combos, or software shortcuts.
Common Uses
- Insert phrases, addresses, or email signatures
- Perform in-game combos or quick item swaps
- Automate multi-step tasks like form filling or app controls
1. Create a Custom Keystroke Macro
- Go to the Configure tab and click “MACROS”
- Click “FULLSCREEN” to expand the editor
- Click “RECORD KEYSTROKES”
- Press the key sequence you want to record, then click “STOP”
- Click “SAVE CHANGES” to save the macro

2. Create a Macro for Text Strings
- In the MACROS tab, click the angle brackets icon (< >)
- Type the text you want the macro to output
- Click “SAVE” to store the macro

3. Assign the Macro to a Key
- Go to “KEYMAP” → “MACRO”
- Click the key you want to assign the macro to
- Select your saved macro
Just like with key remapping, the macro is now tied to that key and ready to use.

How to Use Layers in VIA?
Layers in VIA allow you to assign multiple functions to the same keys—perfect for compact keyboards or multitasking setups. This means you can switch between different key layouts (or “layers”) without needing another keyboard.
Why Use Layers?
- Layer 0: Your default typing layout
-
Layer 1+: Custom layouts for gaming, media control, or macros
Example: Use Layer 2 for music and media shortcuts while keeping Layer 0 for typing.
Example: Create Layer 2 for Media Controls
Step 1: Assign a Layer Toggle Key
- Go to Layer 1
- Click KEYMAP → LAYERS
- Choose a key (e.g., Fn) and assign it to MO(2) — this means it will momentarily activate Layer 2 when held
MO(2) = Momentary access to Layer 2
MO(3) = Momentary access to Layer 3, and so on

Step 2: Customize Layer 2
- Switch to Layer 2
- Click on the keys you want to remap
- Example: Set ESC to Volume Down, another key to Play/Pause, etc.
Step 3: Test Your Setup
Now, when you hold Fn, your keyboard will temporarily switch to Layer 2—allowing you to control media without leaving your regular typing layout.

How to Customize Lighting in VIA?
1. Click Lighting tab
2. Adjust brightness, speed, color effects
3. Try different effects like Breathing, Rainbow, Cycle, etc.

Troubleshooting: VIA Not Detecting Your Keyboard?
1. Check if Your Keyboard VIA-Compatible?
Not all keyboards support VIA out of the box. Double-check your model/version. If unsure, search your keyboard on usevia.app or the brand’s website.
2. Check If You Using Wired Mode?
VIA only works when the keyboard is connected via USB. Connect the keyboard with a USB-C cable. Disable Bluetooth or 2.4GHz wireless mode during setup.
3. Check If You Load a Manual JSON File?
Some keyboards are not yet listed in VIA’s official database and won’t auto-detect.
4. Update or Flash VIA-Compatible Firmware
Even if your keyboard supports VIA, it may not have the right firmware installed.
- Check the brand's support page for firmware updates.
- Download and flash the VIA-enabled QMK firmware (follow official instructions carefully).
5. Use the Right Browser or App
Sometimes the browser itself causes connection issues. Try to use Google Chrome, If the web version fails, download the VIA desktop app.
6. Try Different USB Ports and Cables
Faulty or unsupported USB ports (especially USB hubs) can interfere.
- Try another USB-C cable
- Use a direct USB port on your PC or laptop
- Avoid USB docks and hubs during setup


Leave a comment
All comments are moderated before being published.
This site is protected by hCaptcha and the hCaptcha Privacy Policy and Terms of Service apply.